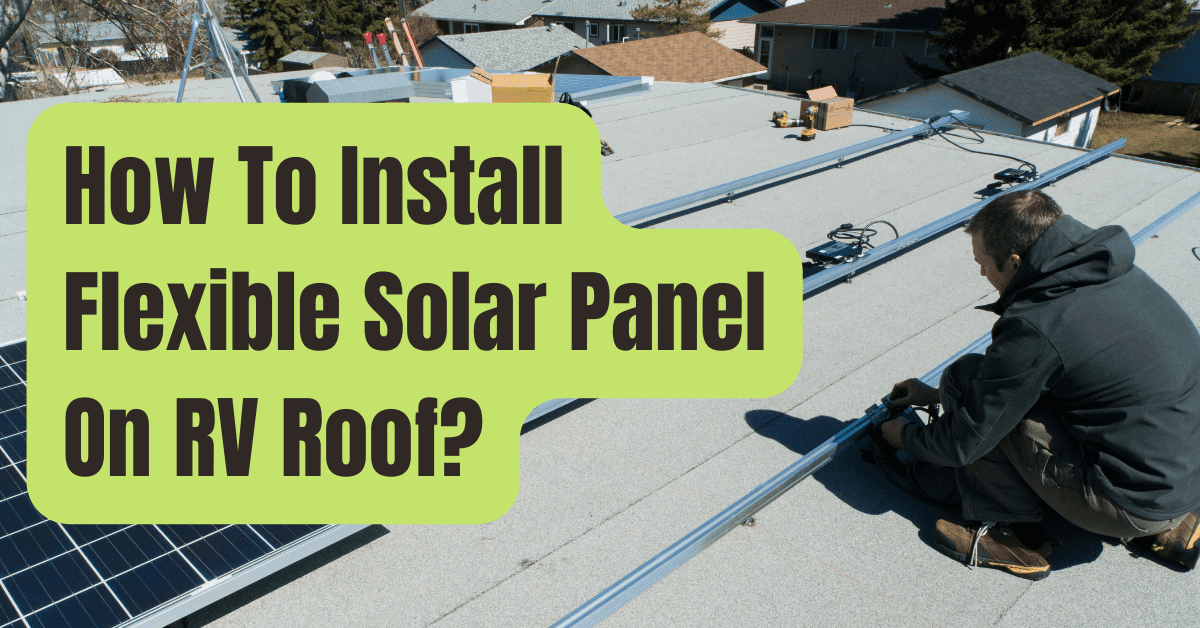
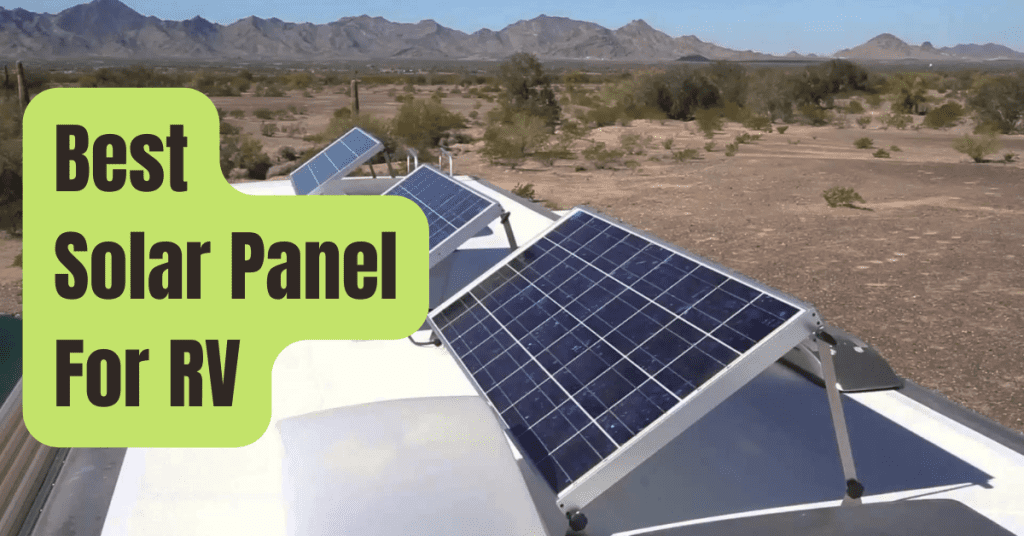
Flexible solar panels have a variety of installation options based on the surface they are put to as well as the kind of vehicle or vessel you are installing them to.
High winds will be present when panels are placed to the roof of a car or an RV, thus a semi-permanent installation is necessary to prevent the panel from being pulled off the roof.
One method to secure a flexible solar panel is to drill holes into the roof of your RV.
In this post and video, I provide instructions on how to achieve this.
In this post, I’ll demonstrate a mounting method that doesn’t use drilling.
Additionally, this method creates an insulated barrier between the solar panel and the roof, which should enhance cooling and increase the solar panel’s effectiveness and lifetime.
How The No-Holes Method Operates
I’ll show you how to install a semi-flexible solar panel using this no-holes method in this video.
This method has shown to be quite effective.
Others have installed their flexible solar panels using this method and have received excellent feedback.
I’ve traveled hundreds of miles through a variety of weather situations with three solar panels placed in this manner.
#1. Materials Required
Before installing the solar panels, you will need the following supplies.
Your neighborhood home shop likely has the majority of these supplies.
- Plastic Corrugated Sheet (size of panel)
- Stainless steel carriage bolts, 6 x 1″ (1/4 – 20)
- Stainless steel washer, 6 x 1 4 x 1
- Bolts that are 6 (or 12) 1″ x 20 stainless steel (double for locking)
- Stainless Steel Wingnuts, 6 x 14″ x 20 (optional if using bolts)
- Lock washers, 4 x 14″
- Transitional aluminum strip (for front edge)
- Lock firmly (optional)
- Tape 3M VHB (Shop for VHB Tape on Amazon)
- 4′′ Eternabond Tape (4′′ Eternabond Tape available on Amazon)
There are several uses for Eternabond tape, including providing a waterproof seal on RV roof seams.
It is ideal for a flexible solar panel installation since it works on a wide range of surfaces and is available in a wide range of widths, lengths, and colors.
Eternabond tape’s sole drawback is that it’s hard to remove.
But as I show in this video, it is doable.
#2. Making a Solar Panel Mount: Instructions
Create the anchor points and install the flexible solar panel by following these procedures.
- To fit a solar panel, cut an insulating plastic sheet.
- Through grommets, drill 14-inch holes.
- Cut each hole’s bottom plastic insulator out with a utility knife just deep enough for the carriage bolts to be level with the surface.
- As anchors for the bolts, cut six 2 inch lengths of aluminum transition (one for each hole)
- Aluminum anchor pieces’ sharp edges should be rounded.
- For each metal anchor, create two 2 inch by 14 inch notches next to each hole.
- Cut the front edge of the lift cover to match the solar panel’s width (smooth edges)
- In all anchors, drill 1/4-inch holes.
- Assemble the anchors, bolts, and insulation (leave solar panel off for now)
#3. Setting Up The Solar Panel
It’s simple to mount the panel using Eternabond.
Initially, confirm that you have chosen the ideal placement for your panel.
The surface should next be thoroughly cleaned and dried since Eternabond requires a clean, dry surface to bond to.
The solar panel grommets should then be positioned over each anchor point and fastened with washers and bolts.
#4. After Installation For A Year
One year after utilizing this method to install three solar panels, I took out one of the SunPower flexible solar panels to check the mounting hardware for damage and wear.
#5. I’m Done Now!
Now take a moment to enjoy your excellent job.
I decided on the white color tape since my RV has a white rubber roof.
This resulted in a really professional-looking installation.

