You’ll need to know how to mount solar panels on your RV roof if you want to DIY-install your RV solar system.
The mounting gear you’ll require to attach solar panels on your RV also depends on the kind of panels you have (flexible or tempered glass), the roof material you have (usually rubber/TPO or fiberglass), and if you need your panels to tilt.
Step 1: Attaching Solar Panels to an RV Roof Made of Rubber
Rubber, sometimes referred to as EPDM or TPO, is the most used material for RV roofs.
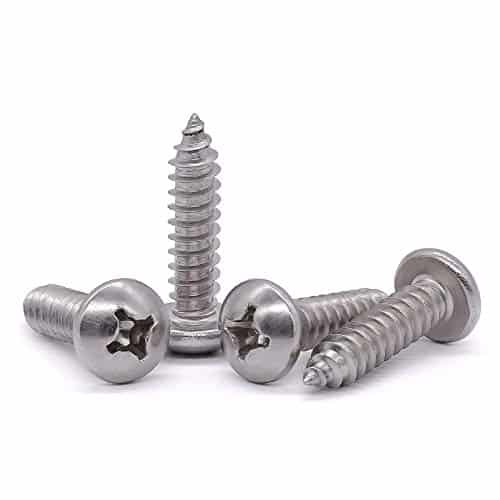
The easiest approach to attach solar panels to this sort of roof is to screw them in using stainless steel lag bolts or something similar to #14 stainless steel screws since the rubber sheet is placed over a layer of wood.
Don’t forget to choose the right screw length for your roof installation!
#14 x 1″ Pan Head Sheet Metal Screw, 304 Stainless Steel 18-8, Phillips Drive Self Tapping Screw, Round Head Wood Screw, Bright Finish, Full Thread, Pack of 50
The glass solar panels will require mounting brackets to connect to them.
You will then screw the glass solar panels straight into your roof, taking care to position them so that they don’t cast any shadows or obstruct the usage of any other roof accessories.
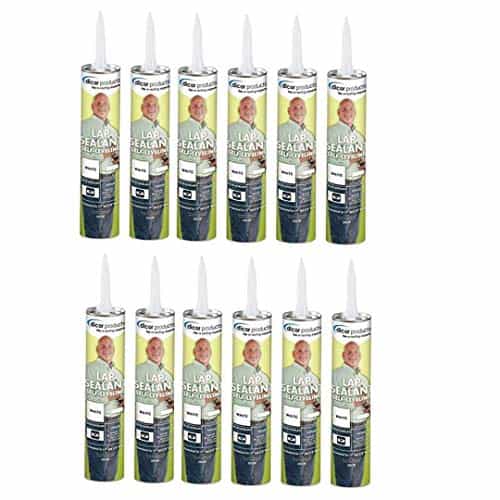
You should seal each hole with Dicor or similar RV-safe self-leveling lap-sealant once they have been screwed in.
The case is the most economical method to purchase Dicor.
Dicor 501LSW-1 RV Rubber Roof Sealant Self Leveling Caulk, Case of 12
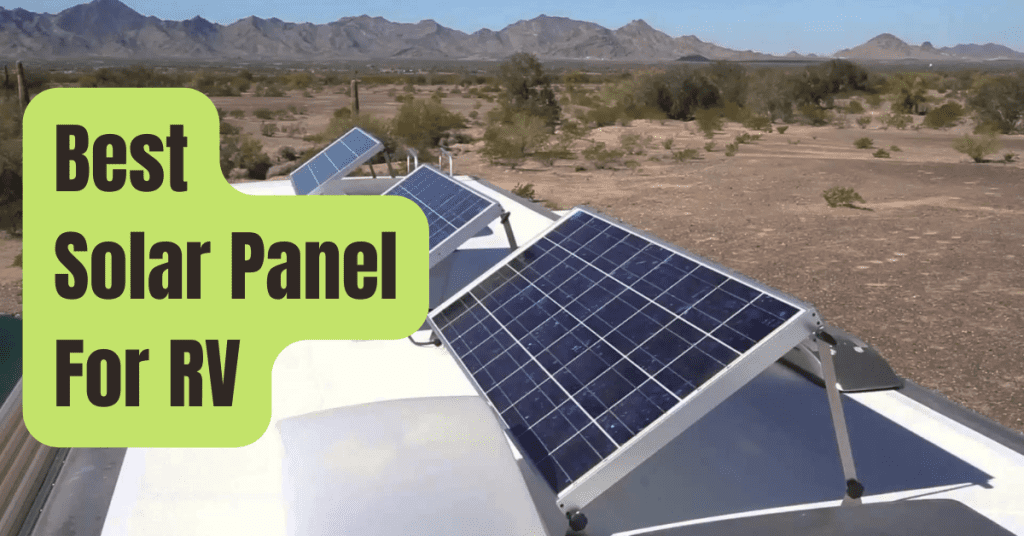
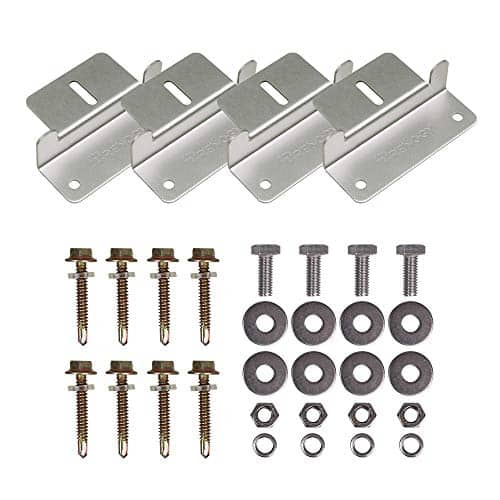
The “Z” bracket is the most basic piece of mounting gear for solar panels.
The mounting bracket that is included in RV solar kits the most often is of this sort.
Renogy Solar Panel Mounting Z Brackets Lightweight Aluminum Corrosion-Free Construction for RVs, Trailers, Boats, Yachts, Wall and Other Off Gird Roof Installation, one set of 4 Units
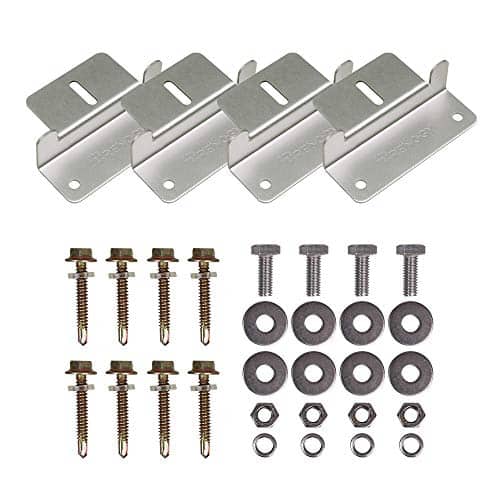
Additionally, you may purchase tilting hardware, create your own brackets, or utilize brand-specific hardware, such as the brackets from Renogy.
Renogy 28in Adjustable Solar Panel Mount Brackets, with Foldable Tilt Legs on Any Flat Surface for RV, Roof, Boat, Any Off-Grid Systems
When installing solar panels on a rubber roof, one thing you don’t want to do is use VHB tape, despite what some RVers advise.
This is because your roof’s top is only a sheet that might rip off if the adhesive were sufficiently dislodged.
Similar to sticking wrapping paper to your wall and pasting a picture frame to it.
The picture will also fly off if the wrapping paper can.
Step 2: On A Rubber Roof, Install Flexible Solar Panels As Follows:
Simply secure the panel to the roof using the adhesive suggested by the solar panel manufacturer.
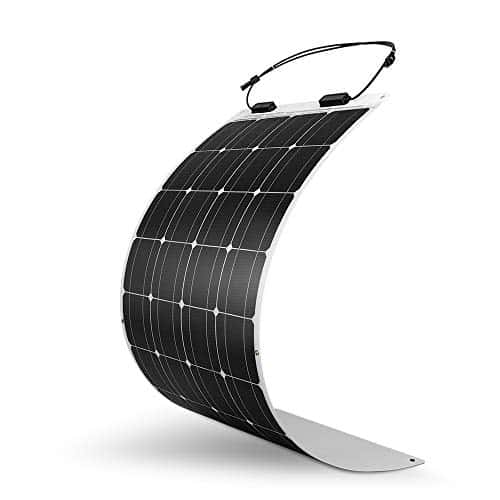
Flexible solar panels don’t need holes at all! These flexible Renogy panels are a fantastic alternative.
Renogy Flexible Solar Panel 100 Watt 12 Volt Monocrystalline Semi-Flexible Bendable Mono Off-Grid Charger for Marine RV Cabin Van Car Uneven Surfaces
Step 3: Installation of Solar Panels on a Fiberglass Roof
Fortunately, you do not need to drill holes into your RV roof if it is constructed of fiberglass in order to place your solar panels.
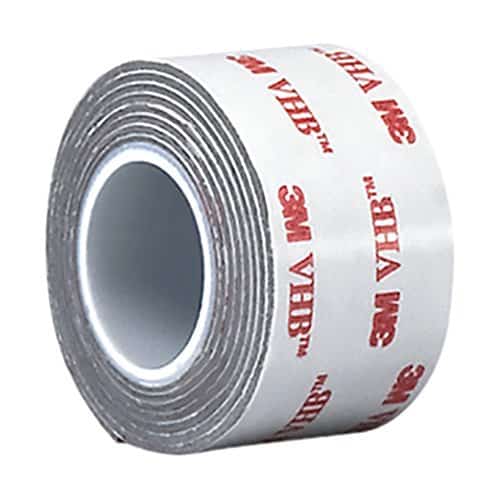
Simply use VHB (Very High Bond) tape, which when used properly will be almost hard to remove.
3M VHB Tape RP32 2″ x 5 yards Gray
You should still put your solar panel using the proper mounting bracket.
When it tries, mark where the bracket feet will fall, wipe the roof and foot with alcohol, and wait before installing the VHB tape in accordance with the manufacturer’s instructions.
Once everything is in place, your panels won’t move, which is wonderful news since it means you won’t have any more roof holes to check for leaks.
Regardless of whether your mounting hardware is tilting or not, this way works.
The procedure described above still holds true if you’re installing flexible solar panels; all you have to do is adhere them to the RV roof using the adhesive the panel manufacturer suggests.

