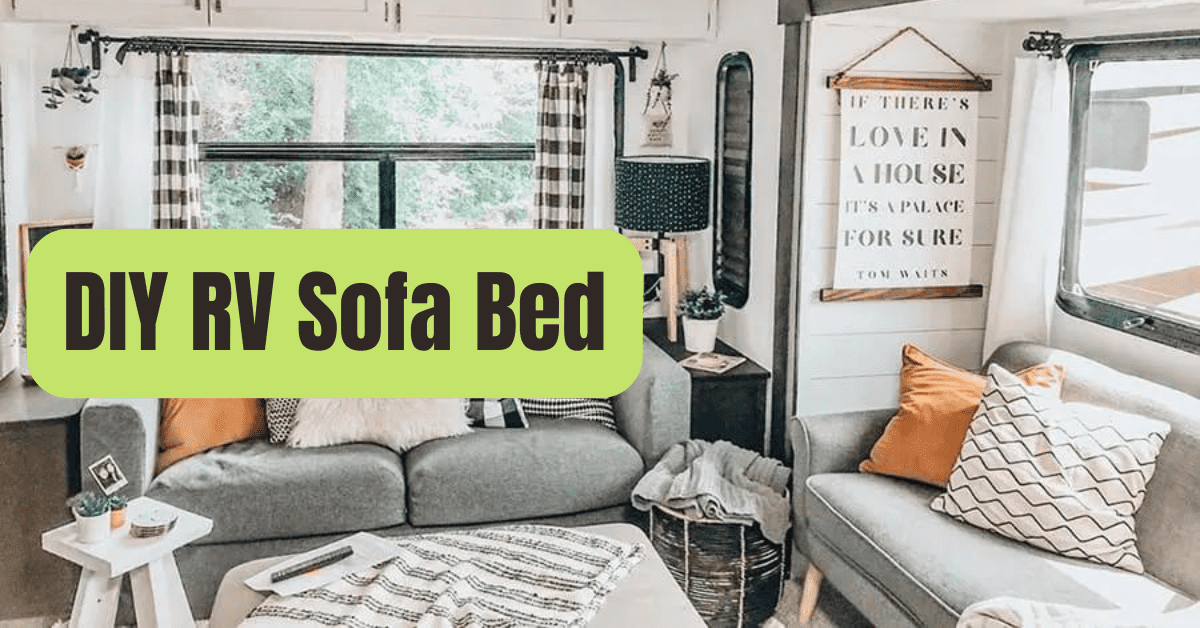
Do you need a new sofa for your RV remodeling but lack the funds for a pricey, factory-made one?
I go through all your alternatives right here.
By following the instructions below, you’ll be on your way to having a comfortable and useful recreational vehicle, from DIY couch beds to RV sofas with storage.
When you discover how to manufacture an RV couch, you have the opportunity to design a unique size and form that is ideal for your requirements.
DIY RV Sofa: How to Get Started
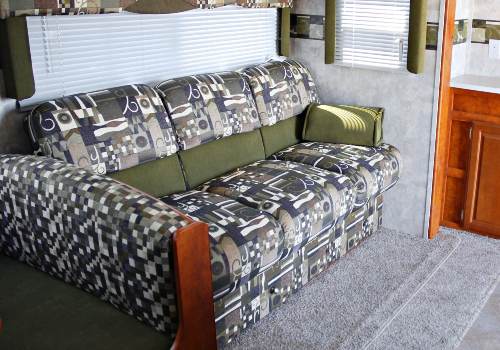
You’ll need to purchase materials and assemble the necessary equipment to finish the job after you’ve taken measurements for the area where you want to put your RV couch and created a design.
The following materials are required to make a simple wood frame DIY couch with foam cushions:
SUPPLIES
- Plywood
- For framing and bracing, use 2x2s and 2x4s.
- Wood glue and construction adhesive
- Powerful hinges (for RV sofas with storage)
- Screws and nails
- Kit for installing leg brackets (for flip-out sofa bed)
- Sandpaper
- Stain or paint
- Upholstery padding and foam
- Zippers and fabric for upholstery
TOOLS
- Table saw or a circular saw
- Drill operator
- Different drill bits and a pocket hole jig
- Level
- Clamps
- Paint brushes
The majority of RV couch designs have arms and a rectangular wood base.
The majority will utilize an existing camper wall as the couch’s back, but your layout may need a wooden one.
The majority of DIY RV couches won’t be one-size-fits-all, so you won’t need a certain quantity of plywood or timber.
To make sure you purchase adequate material, you will need to do the calculations for your individual couch layout.
To simplify the inside of their RV, some individuals, like myself, decide to install their sofa over already-existing elements like the freshwater holding tank, water heater, or wheel well.
Others will have the area beneath accessible and wish to use it for storage.
Both solutions need either the front panel or the top of the sofa seat to open on hinges, which will somewhat change your design.
I also have a section on how to make an RV sofa bed since many RVers desire their couch to serve as additional sleeping space.
To expand the number of people who can sleep in your RV, a wonderful idea is to attempt to make your DIY sofa longer so that at least one youngster, if not an adult, can do so comfortably.
Check out these DIY RV couch designs and ideas before you go shopping for materials; they just could give you the notion to change the final design.
How to Make an RV Sofa at Home
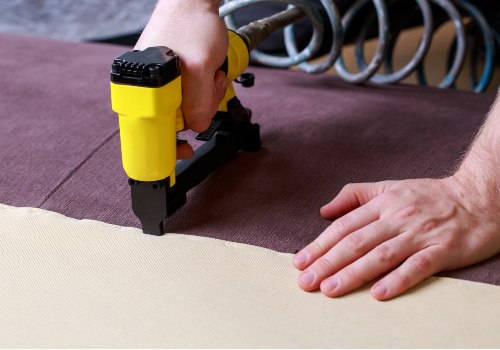
Make use of your measurements, drawings, and plans to make your own DIY RV couch by following the instructions below.
Step 1: Build The Wooden Frame.
To create the foundation of your couch, cut the lengths of 24 and 22 lumber using your saw.
Attach the bottom pieces to the floor using glue and screws, and then add vertical bracing to elevate the seat platform to the desired height.
The framing braces must be immediately fastened to any couch portions that will fit up against a wall or cabinet so they are level with the front frame of the sofa.
Screwing it into the vertical braces and those that connect to the wall or cabinets, add the top framework parts.
Add the framework for the arms and back if your RV couch design has them.
To guarantee that the box of your couch does not collapse, you need put a support beam across the middle of the sofa frame from front to back.
To increase stability against the rigors of road vibrations, consider applying glue or adhesive between joints when fastening these supports and all other parts together with long screws.
Step 2: Wrap Plywood Around the RV Sofa Frame
To cover the couch frame, you may now cut strips of plywood from plywood.
I advise using lighter 1/2-inch plywood for the sides, arms, back, and front and 3/4-inch plywood for the seat.
Use 1/4-inch plywood if you want to finish the plywood’s front and sides with a material.
To minimize filling and sanding the gaps, take your time while cutting to guarantee a perfect fit on all the edges.
For couches without storage, apply a bead of glue to the structure before screwing the plywood into place.
If your DIY couch will open up for storage, go on to the following stage.
Step 3: Install Storage Hinges For RV Sofa
The plywood covering the top and front of the couch, which you want to be able to open for storage, should not be glued or screwed down.
Instead, add hinges to the plywood and framework in a few different places so you can securely open it up.
Step 4: Sand The Sofa, Caulk It, Then Paint Or Stain It.
After the couch foundation is complete, the wood has to be finished by sanding rough edges and caulking any gaps or holes.
Wood filler should be used to patch any holes before staining the couch.
For a built-in appearance, choose stain that matches the RV cabinetry, or choose a contrasting color to give your sofa a more personalized feel.
It is advisable to use a non-silicone caulk on painted surfaces.
To prevent scratches and peeling paint on a painted couch, protect the wood with a primer.
TIP: Another fantastic design choice is to use anything other than plain plywood to cover the front or side of the couch foundation.
The aesthetic will be greatly improved by adding components like weathered wood planks, embossed metal tiles, grasscloth, or other distinctive finishes.
Step 5: Cut And Sew The Cushions And Upholstery For An RV Sofa.
Determine the shape and fit of your couch’s cushions.
Although they seem more contemporary, lower back cushions may not be as comfortable for taller persons.
Alternatively to being divided into separate pieces, cushions might cover the full seat or back of the couch.
You may select how to pad and cover your RV sofa, but if you want to lounge or sleep on it, I do recommend using a substantial cushion the full length of the seat.
CUFFS FOR SOFA
The typical padding for couch cushions is a block of high-density foam that is four to six inches thick with a layer of batting on top.
You may omit the batting if you like since it is not required.
Use a long serrated knife to cut the foam to the appropriate size, or have the foam custom cut at the place where you bought it.
Use a spray adhesive to adhere two pieces of foam together if you want the foam to be thicker.
For instance, you might glue two foam blocks together and then use a knife to mold them into a wedge form for the back cushion.
The foam won’t slip apart after you cover the cushions with fabric.
UPHOLSTERY FOR CUSHIONS
If you want your cushions to appear good and last frequent usage, you’ll need to learn how to sew.
Thankfully, since most of the stitches are straight lines, even a beginner sewer may complete this project.
Sewing instructions for couch cushions may be found online, so go slowly and pay attention to them.
30 Minute Sofa Cushion Project (Video)
Ask friends or family for help if making the cushion covers yourself isn’t feasible, or employ a local sewing pro to assemble them for you.
How to Build an RV Sofa Bed at Home
The majority of the methods for building a DIY sofa bed are similar to those for an RV couch described above, but you’ll need to arrange the upper sitting area differently for a sofa bed in order for it to expand into a full or queen-size bed.
To make sure you have enough room to expand the sofa bed and move around it while it’s open for sleeping, you need to take additional precautions when planning an RV couch bed DIY.
You may make your RV couch in one of two straightforward methods, which I’ll describe below.
Step 1: Build The Wooden Frame Base
As stated in step one of the RV couch steps above, construct the frame for your sofa foundation.
Step 2: Pick A Bed Platform Style
The couch bed may be made to expand into a larger sleeping platform in one of two ways:
- Add a second plywood piece that is hinged to the main platform for the sofa seat.
- Make an extensible slide out of interlocking wood slats.
Of the two options, adding an additional layer of plywood is simpler to construct, but it will take more effort to convert the sofa into a bed since you will need to take out the cushions, install support legs, and flip the platform up and outward so it can sit on the ground.
You can observe the procedure in this video on how to flip out a couch bed.
DIY Locker Turned Into RV Couch/Bed (Video)
In order to have enough of a foundation for the mattress to rest flat, a slat-style bed platform will move right ahead of the sofa, bringing out half of the couch seating supports.
Check out this how-to video for this kind of RV couch bed design for a helpful visual.
Step 3: Add The Bed Platform And Cover The Framing
Any parts of the couch foundation construction that will stay immovable should be covered with plywood.
Then, proceed as directed for the specific kind of couch bed you are creating.
IN THE DESIGN OF FLIP-TOP SOFA BED
For the flip-top sofa bed design, you should connect the second sheet of plywood, which should be cut to the same size as the seat, using a long piano hinge, four, or five hinges across the front edge of the seat platform.
Make sure the hinges are in place so the top wood sheet can be raised and flipped away from the couch.
Close the bed platform after the hinges are in place so you can connect the hardware for the screw-in leg brackets.
As the higher platform sits on the platform for the couch seat, you need add three brackets to the rear border of the top platform.
When using the sofa, you won’t see or feel these little protrusions from the couch’s frame since the cushions will conceal them.
You may add extra brackets where you see fit if you think the platform will require more support.
To finish the bed supports, you may cut legs from a 2×2 and attach the threaded bolt from the bracket kit.
A DESIGN SLIDE-OUT SOFA BED
For the top of the couch seat platform on a slide-out type bed, you’ll need to make a line of slats out of either 2×4, 1×4, or 1×6 timber.
While one half of the alternating slats will link to a separate front frame you create so it may pull out from the couch foundation, the other half will permanently attach to the back of the sofa platform framing.
When you open the couch for sleeping, a stopper bar will be fastened to the bottom of the “sliding” slats to prevent them from falling out of the frame.
If you need more information on the procedure, please watch the tutorial video above.
The sofa’s front wall panel serves as a support for the outside border of the bed while it is open and supports the sliding slats on top of them.
Although it takes longer to construct, this couch bed style is a fun addition to your RV.
Step 4: Complete The RV Sofa Bed Base
When the sofa bed foundation is finished, smooth down any rough edges and fix any gaps or holes with caulk or wood putty.
Wood filler should be used to patch any holes before staining the couch.
If you want to paint the base of the sofa bed, use a paintable caulk.
For jobs involving painted sofa beds, a clinging primer makes a good foundation since it makes water-based stains dry more quickly and emit less fumes than oils.
Step 5: Cut And Sew Covers And Cushions For RV Sofa Beds
Choose how you want the cushions on your couch bed to fit and appear.
It is preferable to use two full-length cushions for the sofa’s seat and back to make it simpler to convert it into a bed.
For the maximum sitting and sleeping comfort, I advise utilizing a 6-inch high-density foam cushion or purchasing a full- or queen-size memory foam mattress and trimming it to fit.
Cost-Saving Strategies Building a DIY RV Sofa
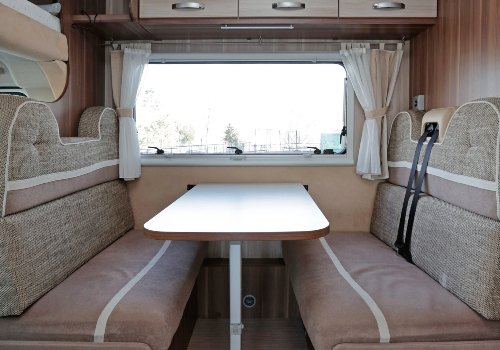
#1. Find Recycled Wood Here
The first recommendation is to look for free timber that you can use for framing.
After that, keep an eye out at the junkyard, in your area on trash day, or ask friends or family if they have any bits of wood they would be willing to give away.
#2. Utilize Substitutes For New Foam Padding.
The cushions are the second-most expensive component of a couch.
It costs a lot to purchase foam padding from fabric or upholstery retailers, particularly if you want it to be thick enough to comfortably lie on.
Online marketplaces, secondhand stores, and garage sales all provide used cushions for cheap.
The inside is almost usually in superb shape once the coverings are off.
If you have any concerns about safety or cleanliness, you may disinfect worn cushions by spraying them with a cleaner and exposing them to the sun for a day to get rid of any smells or bacteria.
A twin-sized memory foam mattress that is six or eight inches thick is an excellent alternative.
To utilize as your couch back cushions, you may also think about purchasing a variety of huge throw pillows from consignment stores.
If you can locate them in the proper colors, you’ll not only save money but also sewing time!
#3. Consider Your Fabric And Accessory Choices Again
Finally, selecting fabric with a reduced cost-per-yard adds up to an instant savings as you’ll need a lot of fabric to cover your DIY RV couch cushions.
As long as you adhere to specific rules, you may cover a sofa with a variety of inexpensive, non-upholstery textiles.
To survive repeated usage, look for a dense weave and heavier material.
For instance, a cotton canvas is quite durable, but thin cotton broadcloth stretches and tears after just a few months.
Avoiding utilizing zippers on your cushions can also help you save money.
Use envelope-style coverings over back cushions or toss pillows and choose button fasteners or fabric ties.
Final Reflections
RV couches provide additional sleeping space when needed and a place to relax when camping.
Unfortunately, many campers have unpleasant or awkward sitting or sleeping arrangements.
The answer is to follow the following instructions to design a unique RV couch or sofa sleeper that will provide your family the ideal location to congregate and unwind after a day of camping excursions.
Making your camper more functional and comfortable will make all of your future RV excursions more pleasurable.

