An RV offers everything you need for a typical home environment, including a kitchen, mattress, food storage, and most significantly, water.
Water is essential for everything, including bathing, cooking, and cleaning.
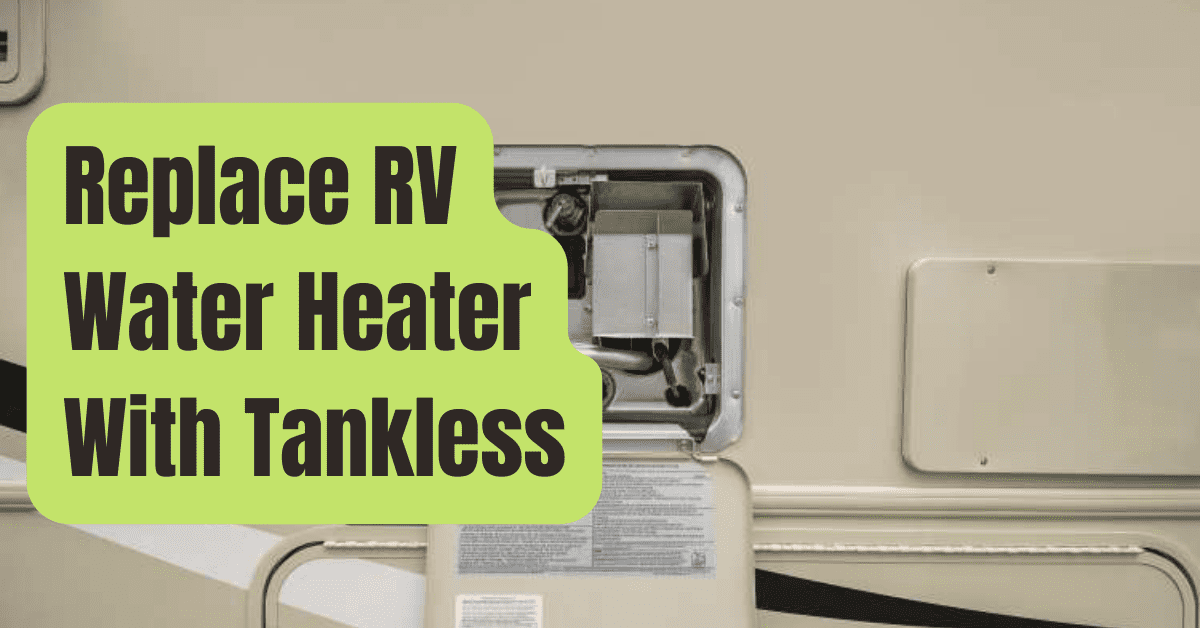
A water heater is a standard feature in all houses, therefore an RV also needs one.
A tankless water heater uses either electric power or gas to create hot water, much like a traditional tank water heater.
A flow valve is used in the system to regulate electric or propane heating components, which heat the water.
The flow valve only activates the heater when a hot water outlet opens, and the elements heat the cold water as it moves through the system.
Water then circulates through the system.
Tankless water heaters only heat water when you use the hot water system since they are on-demand appliances.
A tankless system prevents hot water supply from running out.
As opposed to that, the water heater warms water as needed.
Simply said, the tankless heater will always provide hot water as long as there is a need for it since water is always available.
The essential methods to convert your RV water heater into a tankless one are provided in this article.
What Benefits Come with Owning a Tankless Water Heater?
Here are just a few advantages to take into account if you’re still debating whether or not to convert your RV water heater to a tankless water heater.
#1. Convenience
When you’re traveling with a family, the average RV tank water heater only has a capacity of ten gallons or less.
Tankless water heaters, fortunately, provide an endless supply of hot water whenever you need it.
Just make sure you have a reliable source of cold water, either electric or gas.
#2. Energy Savings
Additionally, tankless water heaters use less energy than their tanked counterparts.
They often consume less propane or energy since the temperature of the tank water doesn’t need to be maintained constantly.
The little amount of petrol it uses might help save money on gasoline.
#3. Saves Space
Making sure you have adequate room in an RV is essential to enjoying the journey.
Tankless water heaters are far more compact than large tanked units and save a lot of room.
#4. Greater Longevity
Another benefit of tankless water heaters is that they last longer.
A tankless water heater works for twice as long as a high-quality tank water heater, which lasts roughly ten years.
How to Make Your Water Heater a Tankless Water Heater in Simple Steps
Here are the quick, straightforward procedures to convert your water heater to a tankless heater now that we’ve enlightened you on the benefits of one.
Step 1: Emptying the Tank and Cutting Off the Supply Lines
In order to guarantee safety, turn off the propane and water connections first.
The tank should then be drained.
After doing so, cut all service supply wires to the old heater.
As you are making these substantial modifications, you may also need to make sure that the electricity is turned off to prevent more messes.
Step 2: Dismantling the Previous Unit
Next, thoroughly remove any weatherproof sealant from the outside flange.
Then, ideally using a cordless battery drill, remove all of the mounting bolts.
The mounting flange may be gently pryed off the side of the RV using a hammer and chisel once all bolts have been removed.
Take your time and try not to harm the RV’s flange or side since this process may need some devotion.
You may clean the space, slide the new heater into position, and reconnect the service lines after removing the old unit from its recess.
Step 3: Setting Up The Brand-New Tankless Water Heater
You may now install the new tankless water heater after gathering all the required equipment.
Don’t feel pressured to complete this step quickly since it is sensitive.
The most important thing is to take your time and install the heater slowly and methodically.
Be careful not to snag or grab the new heating unit as you slide it into the recess.
After that, fully stow the device and make sure it’s level.
Once you’ve verified that, you may continue by gently drawing the device out.
This will assist keep it firmly balanced and provide you enough area to seal the flange.
Carefully insert the unit into the hole, then place the door and secure it.
Check to see whether the mounting holes on the new tankless unit match those on the old unit; if not, drill new ones.
You may now put in a few mounting screws, but don’t tighten them yet.
The internal connections may now be made, and the new heater can be connected to the service lines.
Step 4: Reestablishing Service Line Connections
Reconnecting should be simple if you’ve installed your new tankless water heater properly up to this point.
Make sure the proper water lines are connected to the correct heater locations first.
Don’t cross-thread any of the fittings after that.
Last but not least, be careful not to overtighten any of the fittings since you don’t want to unintentionally snap them off the heater.
Instead, as you tighten the hose fitting, use a second wrench to hold the tank fitting.
Verify that the connections on your propane line are tight.
All of the screws on the outside flange may now be firmly screwed in place.
Applying a silicone bead to make sure the heater is dry from the outside is a good suggestion.
Place the door on the heater once the unit is securely fastened and any vent fittings.
The device may now include hookups for both hot and cold water.
You are now ready! The last step is to switch on the hot water, check the water flow, and set the temperature to your preferences.

Maintenance Advice for RV Tankless Water Heaters
After successfully converting your RV water heater to a tankless one, you may want to think about some maintenance advice.
Fortunately, your tankless water heater system doesn’t need a lot of upkeep.
To maintain your appliance and do routine gas or electric element inspections, however, you should still employ a professional.
Do You Need A Plumber For This, In Conclusion?
While upgrading your RV water heater to a tankless one could appear difficult, we hope our explanation and step-by-step instructions on how to do so have made the process less difficult.
Even while DIY installation is rather straightforward, it never hurts to have assistance.
Don’t be afraid to contact a plumber for a professional assessment and recommendation if you still have questions or worries about how to install your tankless unit.

