A tankless water heater may build up minerals over time, which may damage the walls of the heating chamber of your tank.
It’s crucial to flush those mineral deposits at least once a year in order to properly maintain and clean your tankless water heater.
To guarantee optimum tankless water heater performance and efficiency, follow this simple procedure.
Before starting, please carefully read all of the directions to ensure that you have everything you need.
1. Disconnect the tankless water heater’s power supply.
2. Turn off the electricity circuit breaker or the main gas valve.
3. Switch off the three water valves that are connected to your tankless water heater by closing them.
- In the course of cleaning, this stops cold water from entering the water heater and hot water from exiting.
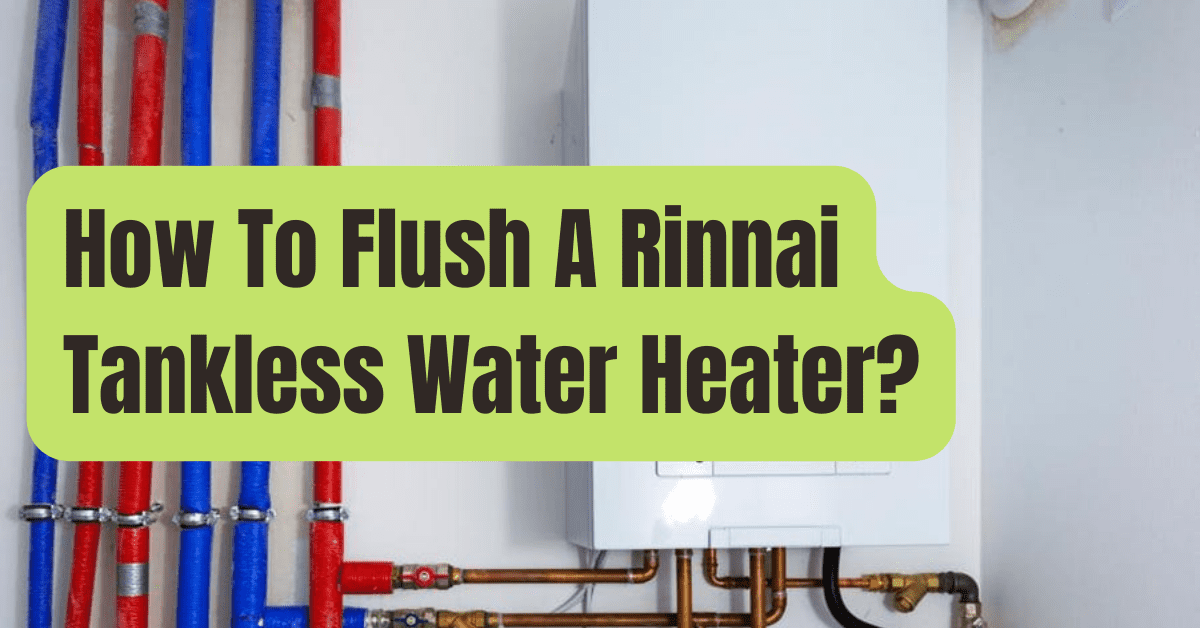
- A cold water valve (colored blue), a hot water valve (colored red), and a main valve that directs water into your house make up the water valves.
4. Carefully remove the purge port valve caps from the purge valves that are situated on each cold and hot water valve.
- The little handles on the purge valves bear the shape of the letter “T.”
- This step is used to release any internal pressure that has built up in the valves and to stop excessive hot water from spouting out while the valves are being cleaned.
- It’s crucial to make sure the hot water valve is fully switched off to ensure your safety since there can be pressure while removing the purge port valve covers.
- To ensure that the rubber sealing discs remain in place, handle each cap with care. Your valves must have these in order to operate correctly.
5. Connect hosing lines to all three of the valves.
- Any home improvement business that sells water heaters will have hosing lines if the manufacturer of your tankless water heater did not. The hosing lines must extend far enough to connect a bucket and a water heater.
- For precise instructions on how to carry out this process, refer to the manufacturer’s handbook or get in touch with them directly.
- You may sometimes need to utilize a sump pump and hose connections to flush and discharge water from the cold and hot water valves on a tankless water heater.
6. Rotate the purge port valves so that they are parallel to where the cold and hot valves are located.
7. Clean your tankless water heater with 4 gallons (15.1 liters) of undiluted white vinegar. Never use any form of chemical solution.
- Using chemical cleaning solutions might be quite dangerous to your health since the water used for drinking and bathing in your house most likely passes through your tankless water heater.
8. To execute the cleansing and draining operation, according to the directions in your manufacturer’s handbook.
- It could take this process up to 45 minutes.
9. After flushing is finished, twist the T-shaped handles to seal the purge port valves.
10. Cut the hosing lines from each valve and remove them.
11. Attach the purge valves’ purge port valve covers.
- Tighten the caps securely and fully. To avoid damaging the rubber sealing discs within the caps, do not overtighten the caps.
12. For further information on how to properly restart your water heater, see the manufacturer’s handbook.
- You may have to do this by turning and opening the cold and hot water valves to make them parallel to the main valve’s position.
13. Select a sink faucet inside, then turn the hot water on gradually to let the air go through the pipe.
- Run the water until it consistently flows without air escaping (you may recognize this by a slight sputtering sound). All of the air pockets may take up to two or three minutes to release.

