Get the most efficiency and lifespan out of your investment by learning how to clean a tankless water heater.
Let’s go through the procedure, some helpful resources, and crucial factors.
The Need for Cleaning Tankless Models
Tankless water heaters are less expensive to operate and more effective than conventional water heaters.
Additionally, they need a lot less room and upkeep to run.
Because of this, it’s crucial to understand why and when to flush a tankless water heater, whether it’s gas or electric, before actually doing so.
Let’s examine how the water heater is impacted by the naturally occurring silt in your system and how to flush effectively and safely.
#1. Tankless Water Heaters And Accumulation Of Scale
Anyone who has ever had a normal water system is aware of the periodic necessity to flush the tank in order to remove sediment.
The same is true with tankless heaters.
Minerals in hard water may cause lime scale to accumulate.
A tankless heater, unlike a conventional tank kind, is not at danger of explosion from the accumulation, but it may still result in some expensive issues.
Scale sensitivity is very high in the heat exchanger.
The exchanger has to work harder and more often to supply hot water as lime builds up in the unit.
This may substantially reduce this component’s lifetime and considerably raise your utility costs.
It becomes worse since most warranties don’t cover lime accumulation.
#2. How Frequently Should a Tankless Water Heater Be Flushed?
In order to maintain efficiency, your tankless water heater should typically be cleansed once a year.
However, the hardness of your water is a factor, so if the water in your house is really bad, you could find it preferable to flush twice or three times a year.
To a certain extent, hard water may be helped with a sediment trap or softener.
#3. Separator Valves
It’s imperative that we talk about isolation valves as well before we go on to any measures.
An isolation valve does exactly what it says on the tin: it enables you to isolate (shut off) a section of your pipeline’s liquid or gas supply without having to do the same for the full supply.
Essentially, the phrase means a shut-off valve.
Many appliances in your home, from your stove to your toilet, have some kind of isolation valve built for maintenance or emergency situations.
Although there are many different forms of these valves, there are only two fundamental types: rotational movement (such as a ball or butterfly valve) and linear movement (ex: glove or diaphragm valves).
Your tankless heater could or might not have an isolation valve installed, depending on the manufacturer and if a specialist installed it.
If your heater doesn’t have this function, we urge you to get one installed while you wait for a professional to flush since it may be a significant safety element while you’re carrying out a flush or other maintenance.
#4. Pumping and Flush Kit Use
A submersible pump is one of your finest allies for flushing a tankless water heater.
A good pump, like the 91250 from Superior Pump, can save hours, if not days, of hand flushing since, unlike a tank heater, you don’t have enormous volumes of water to sweep up and take the sediment out of.
Since there is no straightforward drainage option like there is with the typical tank style, flushing will need a large bucket to place the pump in, necessitating the use of a submersible model pump.
A decent flush kit is another fantastic tool.
Most of the time, these kits come with everything you need, including a pump, bucket, descaler, and hoses.
When you own a tankless heater, having a kit on hand might be a fantastic investment even if it is not required.
My PlumbingStuff produces my favorite kit, which is certainly the greatest tankless water heater flush kit in my opinion.
It works wonderfully, is simple to use, and is ecologically friendly down to the last component.
A Gas Tankless Water Heater Flushing Procedure
Check your water heater’s handbook to see if there are any special descale and flushing recommendations.
Noritz, Rheem, and Rinnai are the three most popular manufacturers of gas tankless versions.
Here are separate guidelines for each brand for your convenience:
- How to flush a Rinnai tankless water heater
- How to cleanse a Rheem tankless water heater
- How to cleanse a Notritz tankless water heater
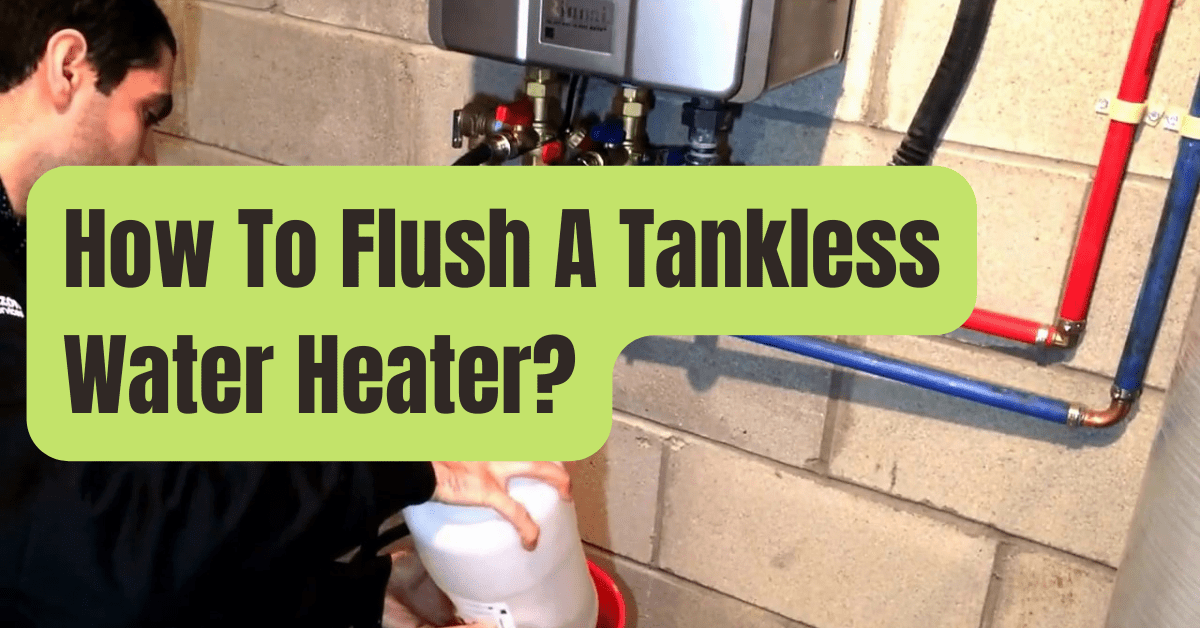
No matter what kind of gas tankless water heater you have, flushing involves a few steps that must be carried out sequentially but are all quite easy to understand.
#1. Planning
- Cut off the heater’s electrical power source.
- To ensure there is no longer electricity flowing to the connection, remove the access panel and check the voltage using a non-contact voltage tester.
- Find the gas isolation valve and shut it.
- Close the hot and cold shut-off valves to stop any water from entering the appliance while you are working.
- To relieve any pressure, find the hot water pressure relief valve along the hot water pipe and open it. The hot water will be hot, so use caution.
- Both a cold water service port and a hot water service port will be included. Hoses should be connected to both of these ports.
- In a five-gallon bucket, put your submersible pump.
- Your pump must be connected to the cold water hose.
- Put the hot water hose’s free end into the bucket.
- Fill the bucket with four gallons of virgin food-grade white vinegar that has not been diluted. (Note: Noritz advises a heavy-duty substitute of one gallon of CLR to three gallons of water.)
#2. Flushing
- Turn on the pump after opening the hot and cold service ports.
- Give the vinegar at least an hour to circulate through the heater (longer if the pump runs at less than four gallons per minute). This eliminates the silt and dissolves the scale.
- After emptying the vinegar, turn off the pump.
- Close the cold water service port, then unplug the hose that is connected.
- For around ten minutes, turn on the cold water shut-off valve to flush any leftover vinegar into your bucket via the second hose.
- Turn off the cold water valve.
- After the water has completely drained, take the second hose off.
- Ensure the hot water service port is shut.
- Remove the hot water inline filter and the cold water intake filter (if applicable).
- To get rid of any accumulated silt, flush the filters at a sink.
#3. Cleanup
- Close off the valves for the hot and cold water and replace the filter(s) firmly.
- Change out the access panel.
- Gas shutoff valve should be opened.
- Reconnect the power source.
How to Flush a Tankless Electric Water Heater
Compared to gas models, flushing out an electric tankless water heater requires a little bit more disassembly.
The positioning of the water control valve on Takagi models may be more complicated than it is on Navien models, which tend to be simpler.
- How to clean a Navien tankless water heater
- How to flush a Takagi tankless water heater
Descaling an electric model may be divided into three steps, much as with gas models.
#1. Planning
- Turn the breaker off to stop the electricity.
- Turn off the cold water valve.
- To let any water from the heater drain, open your faucets.
- Turn off the hot water valve.
- To ensure there is no longer electricity flowing to the connection, remove the access panel and check the voltage using a non-contact voltage tester.
- The screws holding the cables to the heating elements must be removed.
- To remove the heating element, turn the heating element’s brass hexagonal top counterclockwise.
- Check the heating components for any damage indications. An element with a crack has to be replaced right away.
- The heater’s cooper chambers are where the heating components are kept so they may be cleaned as well.
#2. Flushing
- Pure food-grade white vinegar, undiluted, should be poured into the cooper chambers.
- For 90 to two hours, let the vinegar rest in the chamber. The scales on the elements will be broken up by this.
- Flow off the vinegar.
- Reinstall the cables and replace the heating components.
- Allow the tank to fill by opening the cold water shutoff valve.
- Check the tank for leaks by looking for them (the paper towel test work wonders here).
- Open the shut-off valve for the hot water.
- To remove the vinegar and remove any air pockets from the pipe, turn on many hot water taps and let the water flow for approximately five minutes.
#3. Cleanup
- Close all hot water faucets.
- Turn off the cold water valve.
- To clear out any dirt, remove the cold water input filter and run it under a cold tap.
- Securely replace the filter.
- Retain power at the breaker and close the access panel.

