Steps:
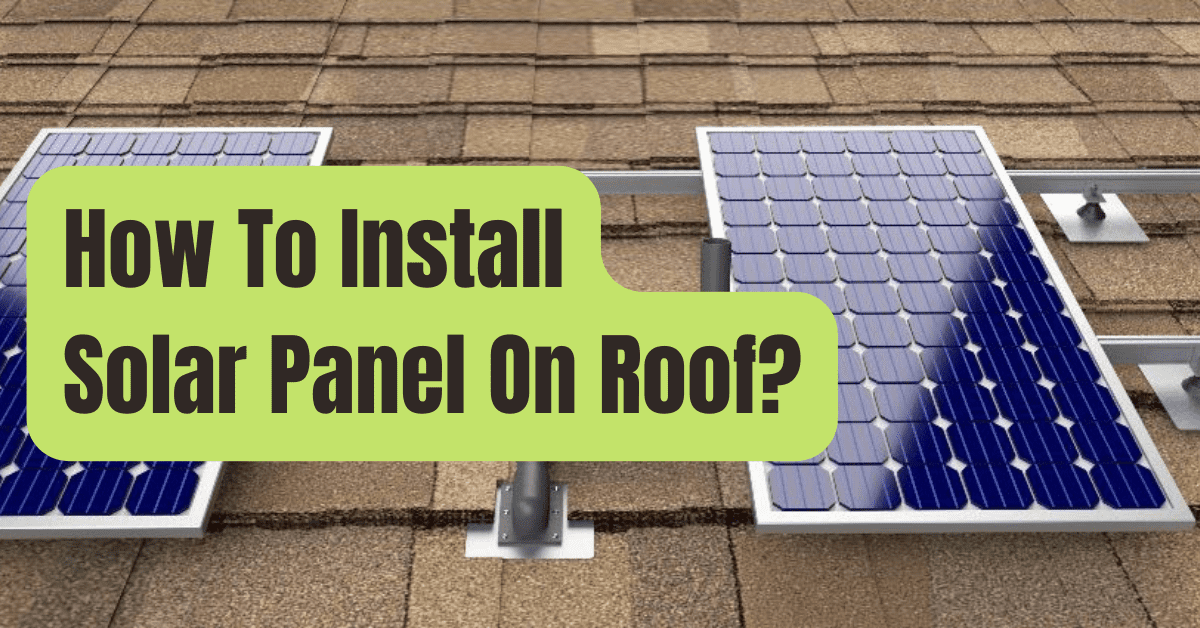
- Mark the positions of the stanchions that will hold the solar panels up on the roof.
- Insert each stanchion into a roof rafter and through the roof. To avoid leaks, make sure the stanchion flashing fits under the roof tiles.
- Use stainless steel bolts to secure the top and lower aluminum rails to the stanchions. Utilizing an impact driver, tighten the bolts.
- Take a diagonal measurement across from the lower rail’s end to the higher rail’s end. To find the other diagonal distance, repeat the process. The rails are square if the two measurements are equal. Adjust one of the rails if they are not equal.
- Attach the center rail next, being sure to line it up with the top and lower rails.
- Connect electrical conduit and wiring to every solar panel array.
- Put a mini inverter below each solar panel so that they are really connected in parallel rather than series.
- To ground the whole system, firmly connect a 6-gauge bare copper grounding wire to each inverter.
- Connect the wires from the position of one solar panel array to the next.
- Position the solar panel onto the stanchions, connect the plugs, and then secure the panel by screwing the retaining clips to the rails.
- Finish the electrical work by running the cables from the solar panels via a new electrical meter and into an electrical sub-panel from within the basement.


