Do you worry that you won’t be able to replace your current RV refrigerator? Are you worried that installing it could cause harm to the new Dometic RV you purchased? I can relate to you since I can still clearly remember how it felt when I attempted to fix my RV’s freezer for the first time.
Since I had no electrical wiring experience, I was rather afraid of breaking the brand-new, pricey Dometic RV fridge that I had just purchased.
But I’m encouraging you not to worry too much because I can show you that it’s really simpler than it appears.
That’s why I wrote a tutorial on how to uninstall a Dometic RV refrigerator quickly.
You’ll Need These Tools for This Job
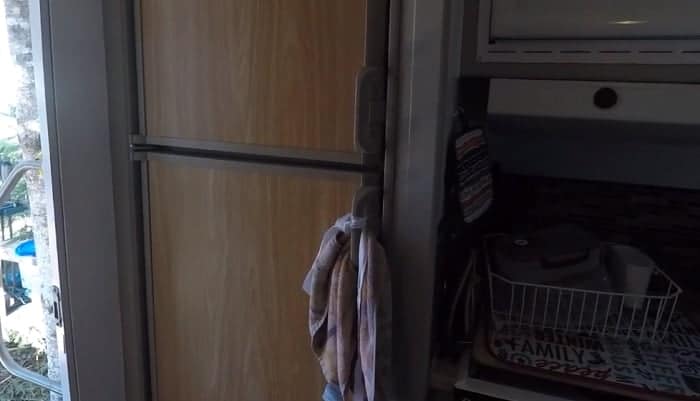
There are a few items you’ll need to complete this task before you start, however.
We’ll outline some of the equipment you need to have before moving on to the tutorial.
You can find the majority of these tools in a typical toolbox, so don’t worry.
Therefore, there isn’t really a need to visit a shop to acquire new items.
Here they are, however:
- Tape measure
- Screwdriver
- Dolly belt
- Moving cradle (if ever you have one)
You won’t need anything else for this work; just have them.
Not much, am I right? With the exception of the dolly, you most likely already have each of these items.
However, if you don’t have a dolly, you could want assistance from one or two other persons to move the refrigerator.
In either instance, the following actions are listed.
Advice on How to Remove Your RV Fridge
Step 1: Measure Your Refrigerator
You will want all the appropriate dimensions if you plan to install a new refrigerator in place of your current one.
Get the measurements of your current refrigerator using a measuring tape so you’ll know how to purchase the replacement.
Step 2: Remove The Frame
After you have the measurements, remove the frame as the following step.
To do this, take out the frame screws.
Take out all of the caps by rotating and popping them out before attempting to remove them.
The screws are located under the caps, and a screwdriver is required to remove them.
The frame may then be removed from there.
Step 3: Remove The Outside Frame.
After that is finished, you must remove the frame foundation, which is located outside the RV.
It is located close to the entrance.
The base is underneath the screws.
Take out your screwdriver once again, and remove the screws.
Step 4: Turn Off The Gas
In order to prevent any mishaps, you must cut off the gas.
Simply switch off the LPG tank located at the rear of the refrigerator to do this.
The LPG may sometimes be found in the freezer.
Make careful you switch off the LPG by going to it.
Disconnect the wires once you have turned it off.
Make that the two-volt and mainline cables are both unplugged.
Step 5: Pull The Caulking Out
Pull out or cut any silicone caulking that is used to seal your refrigerator.
You won’t actually need tools since it won’t be difficult to remove them.
Step 6: Remove The Old Refrigerator
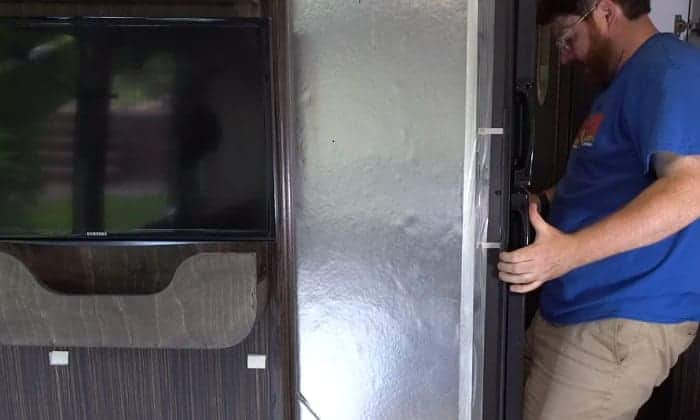
The fridge has to be easily removed as the final stage.
A movable dolly and dolly straps will be useful at this point.
Make sure the refrigerator is on the dolly by tilting it onto the base of the appliance.
Next, fasten the fridge to the trolley using your straps.
Once you’ve finished, you can just wheel the refrigerator outside.
Ask two extra pals to assist you in bringing out the refrigerator if you don’t have a dolly.
Conclusion
Didn’t that seem so easy? Six easy steps and a few basic tools were all that were required to complete the task.
Do not be concerned that you must be an expert to remove a refrigerator and replace it with a new one.
Whether or not you’ve done it before, as long as you exactly follow the instructions we’ve provided above, there shouldn’t be any issues.
How To Remove A Dometic RV Refrigerator Videos Suggestions From Youtube
288K subscribers

