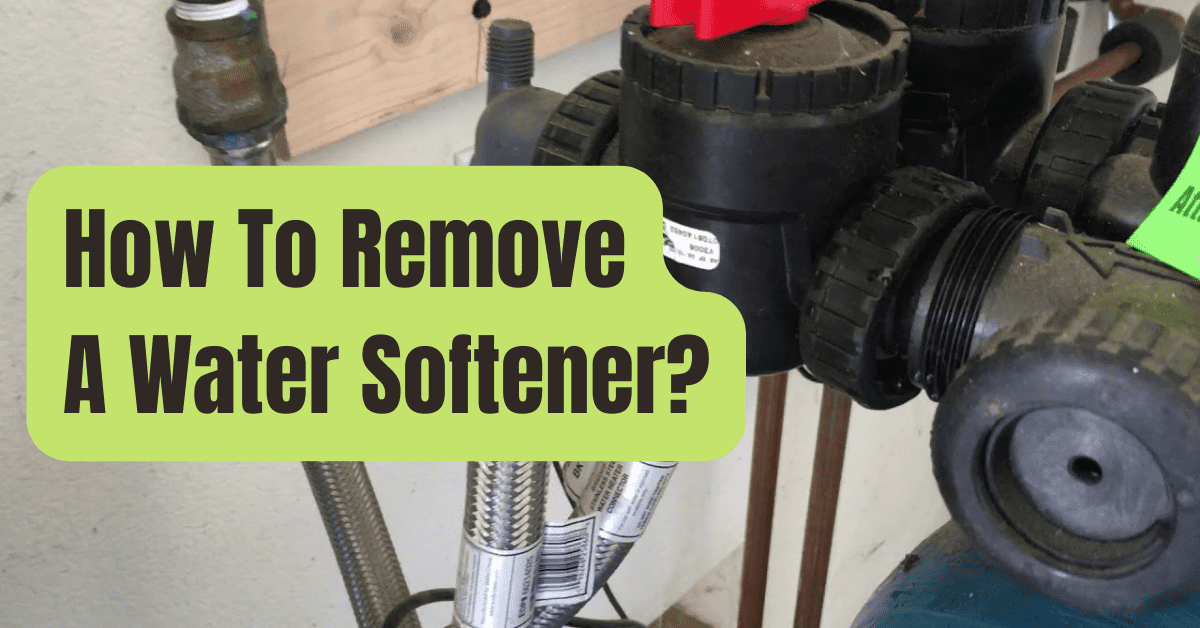
Water softeners improve the quality of hard water so that it is safer to drink and use for household cleaning and laundry.
These compounds, when dissolved in water, may leave stains behind that harm washers and faucets.
You just need a few tools to remove your water softener if it needs servicing or repair.
Step 1
For the water softener you want to remove, turn off the water supply.
The water supply valve that regulates the supply to the softener should be present in most installations, most often close to a wall or floor.
To stop the flow of water, turn the valve to the right.
Step 2
If the water softener need energy to function, such as a reverse osmosis water softener, shut off the electrical supply.
Pull the plug out of the wall or flip the main circuit breaker to turn off the electricity to the softener.
Step 3
Removable water softener: drain A hose bibb at the bottom of larger, higher-capacity softeners may allow you to connect a garden hose.
Other softeners could have a tap that has to be filled with water and placed in a bucket.
To speed up drainage, look for a relief valve on the softener that you may open.
Step 4
Put a cloth below the point where the softener’s supply line links to the rest of the home’s plumbing.
To connect the supply pipe to the softener, loosen the coupler.
There might be water leakage.
Prepare a bucket to collect any water.
Step 5
Remove the intake pipe from the water softener’s opposite side.
Any water that leaks should be cleaned up.
Step 6
If necessary, disconnect the softener from the power source.
Use a screwdriver to remove the side panel.
To confirm that the power has been turned off, use a voltmeter to test the terminals within the softener.
With a pair of needlenose pliers, unscrew the terminals and pull the electrical wires free.
Step 7
Any straps or bolts keeping the softener in place should be loosened.
Take the softener out.

