Campground water supply systems must undergo appropriate testing and get the same certifications as municipal water sources.
This guarantees that the water is clean and safe.
Before connecting to the campground’s water supply, you may visit the office and ask to view an MSDS document if you have any concerns.
The water at the campsite could still include some lime and sediment, however, even if all testing have been completed and certificates are in place, mainly because this is not soft water.
Because of this, you may still want to think about connecting an RV water filter to the water connection.
Before you can attach an RV water filter, you must first attach a hose made for drinking water to the unit’s outside RV water inlet.
To make connecting and disconnecting from water sources simpler, a fast disconnect adapter is advised.
Once everything is set up, you will have a selection of several RV water filtration choices.
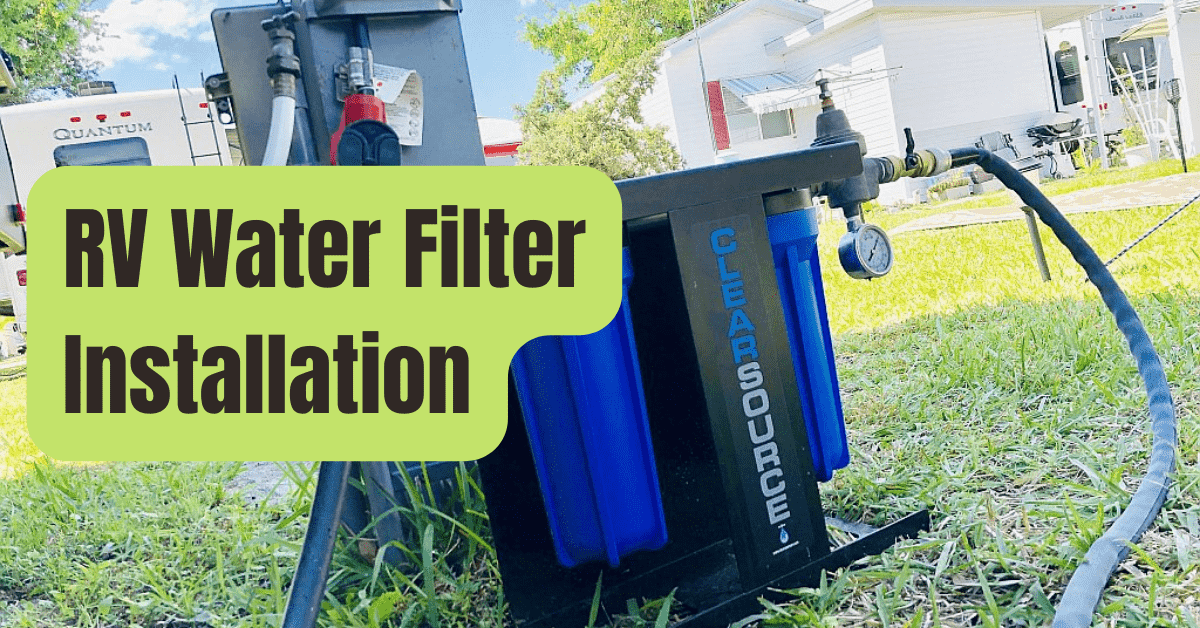
For your RV’s water filtration, you may utilize a residential-style filter.
Run a short safe drinking water line to the filter’s intake side and a longer one from the output side to complete the installation.
These filters have many more choices and may remove impurities like salt, lime, sediment, and more.
These filters are also bigger and last longer, despite the fact that they are significantly thicker and take up more space in a luggage compartment.
Additionally, a smaller, portable RV water filter is offered and is simple to install in-line with the hose.
Do not connect the RV water filter directly to the vehicle while installing it.
As an alternative, attach it to the hose’s end right before you connect it to the water supply.
A pressure regulator should be added to the hose before it is connected to the campground’s water supply.
This will prevent any blowouts in your water system by keeping the pressure below 40 psi.
There are digital readers you may use to evaluate the water quality if you feel the need to do so.
Both big home improvement shops and camping supply stores carry them.

